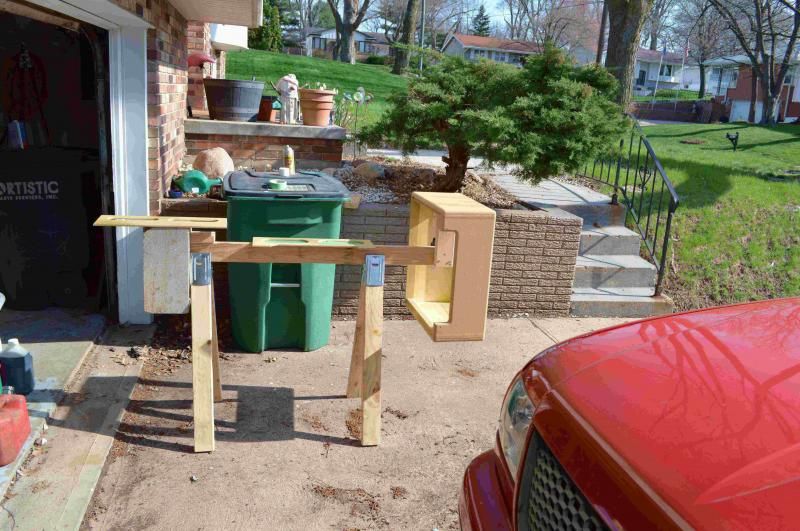
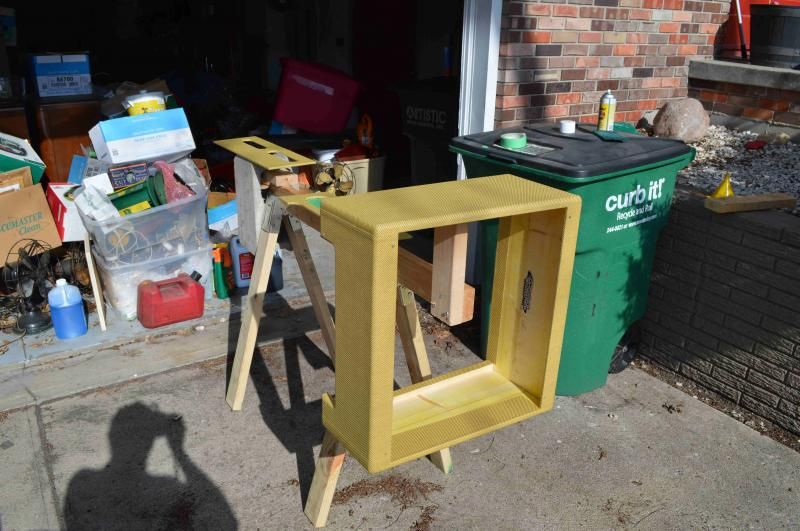
Once the weather warmed up enough to think about getting the cabinet shaped up for my 5E7 Bandmaster build I had to devote a little thought to making up a fixture for finishing the cabinet. I went out to the garage to see what could be found and settled on a pair of sawhorse leg connecters I'd purchased a while ago for the workbench project. A few chunks of 2x4 and some self tapping screws and I had it. Adding the extension made it easy to add a counterweight in the form of a cinder block that happened to be wandering by.
As I started putting the first coats of shellac on the cabinet-about which more anon-I discovered that the cabinet had been built with a seriously warped on one side board. I emailed the fine folks at Weber and they were good enough to provide another cabinet at no cost-props to them.
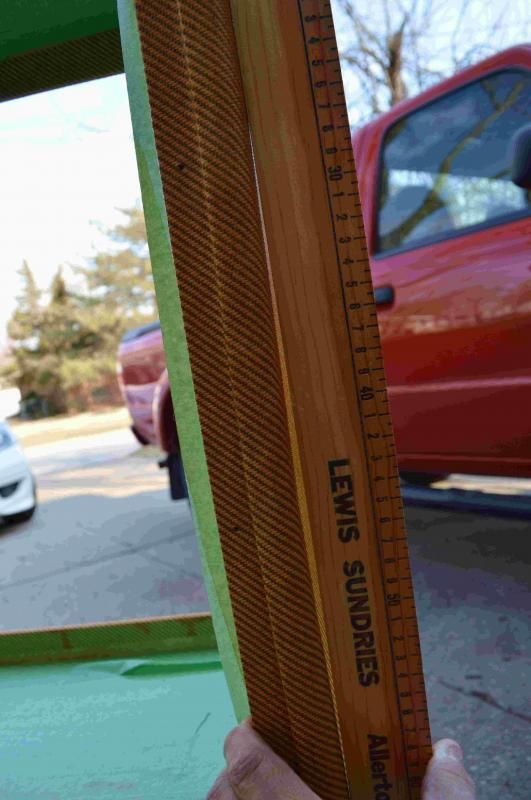
A few more weeks elapsed before the new cabinet arrived Friday last, but in the meantime I had had some time to think about the shellac finish and the prospects for getting a good application without discoloration-it is very easy for the end grain of the cloth to absorb the shellac which leads to permanent discoloration. It's liveable but I'm a perfectionist.
Some folks use Minwax Honey Pine polyurethane finish, but I don't like the look of the stuff at all-it's got a bit too much green in it and is far too slick for me, and I'm going for more of a tobacco coloration.
So I decided for my second try I was going to take my time and anoint the cabinet with clear shellac from the spray can, but that I was going to give it plenty of time to dry-like, a day or so, and pay special attention to the end grain of the fabric. Also, I decided I was going to build up the sealer coat substantially. So that's the plan and it's now baking in the sun after the second application.
I will probably give it another coat of clear and finish off the rattle can before I attempt to color it. I do have a can of clear shellac and I may try that as well. The object lesson is to take the time to build up a solid undercoat and properly seal the fiber. A light scuffing between coats after the shellac is properly dry is a must.
For those of you who haven't yet tried this, you need to assemble a spray can of Zinsser Bulls Eye clear shellac, a pint of their amber shellac, a quart of denatured alcohol, some green Scotchbrite scuff pads, a good brush, and some painter's tape. A fixture like I built can be thrown together in a few minutes. All this can be found at any hardware store, so take the opportunity to shop locally and use environmentally friendly products from renewable and sustainable resources-which shellac and alcohol are, but which polyurethane most surely is not.
As a point of information, shellac is a refined naturally produced resin that primarily comes from India. The resin itself is produced by insects and it is deposited on twigs and small branches of host trees. You can read all about the production process here.
Although shellac dries to the touch in about thirty minutes, it's still not cured and that's where being in too much of a hurry can take a good job and turn it into an unsightly one.
No comments:
Post a Comment